By: Imogen Smith
SP arms are a local company based on the Gold Coast providing high-quality sun protection garments to lovers of outdoor sports from cycling to tennis. Their range of UPF 50+ garments include arm sleeves, leggings, leg sleeves, body shirts, gloves and shoulder wraps.
I first tested the Everyday sleeves, which come in one size. Featuring a slight compression fit, these are super stretchy and despite having very long, thin arms, fit me really well, with no sign of slipping down under my jersey like winter arm warmers so often do.
They felt reasonably cool to touch when on, and in really hot conditions I found wetting them down with a bit of water really helped keep me cooler. Additionally, on chilly mornings these provide a basic additional layer that helps a little with the cold before the day warms up.

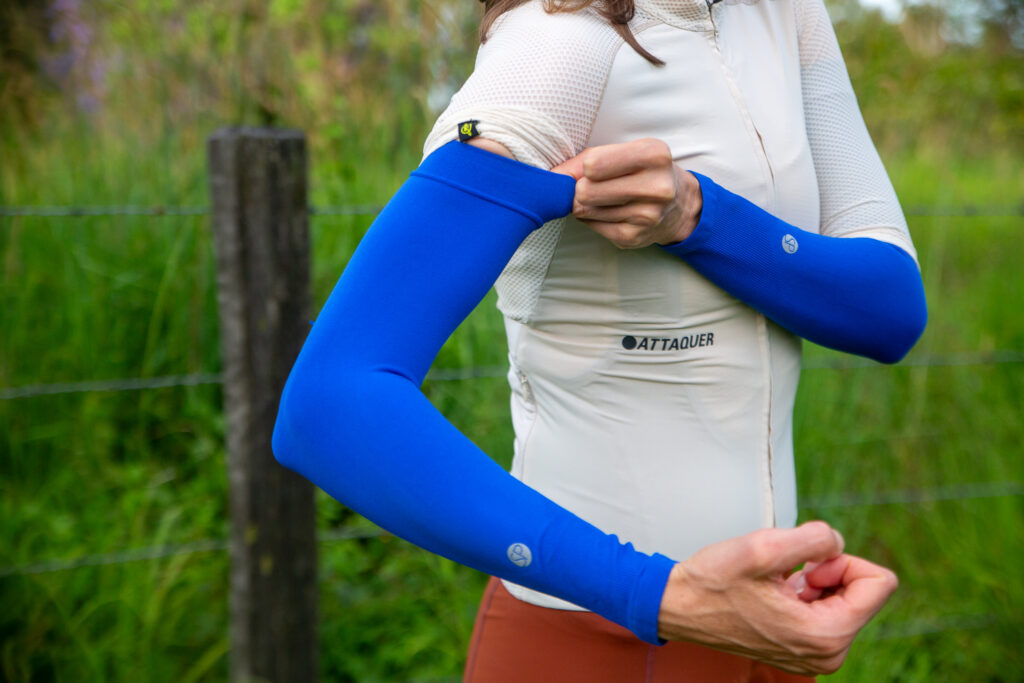
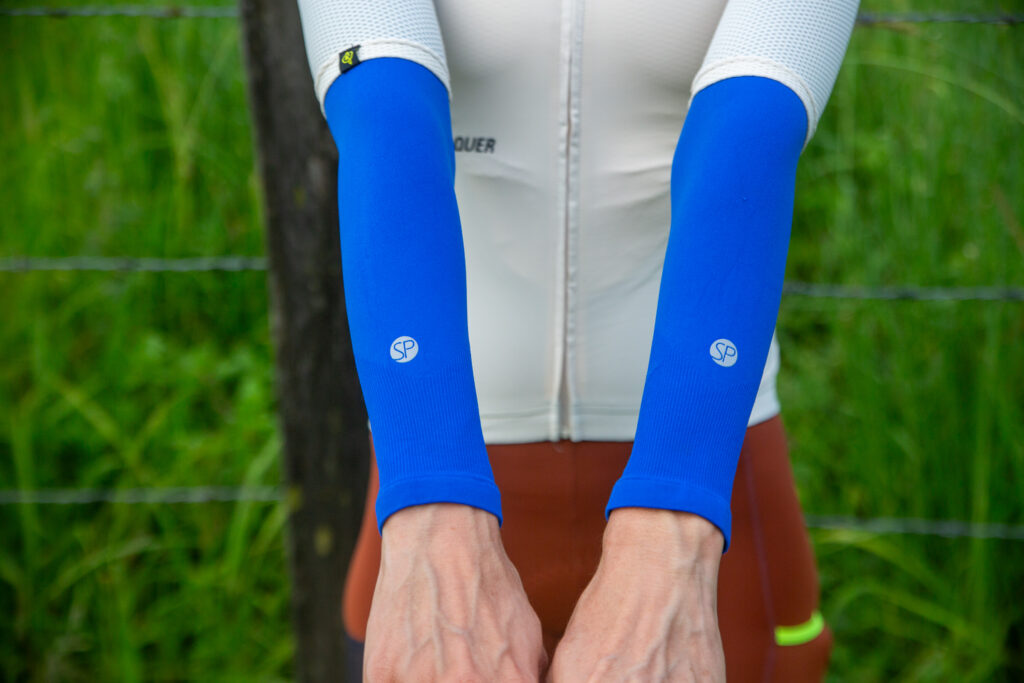
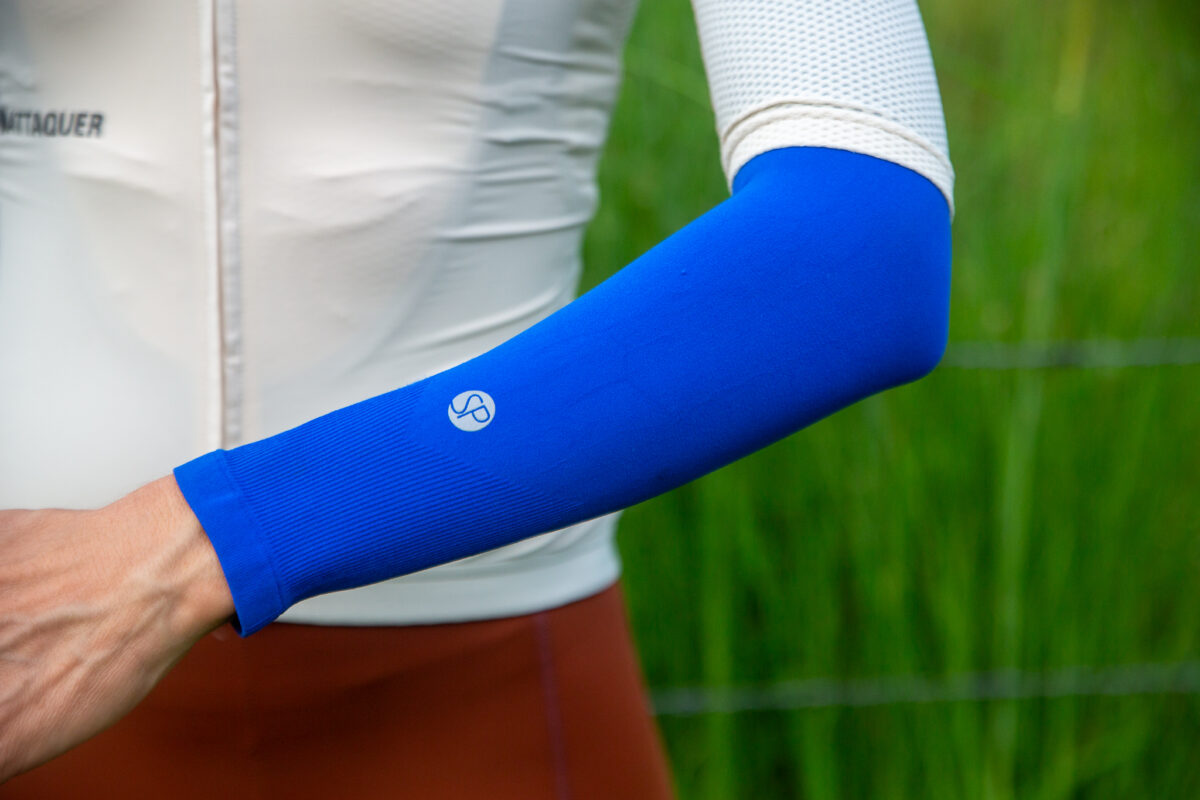
Being impressed with this product, but after some black arm sleeves, I thought I’d try SP arms Original sleeves using my BQ member 20% discount. Unlike the Everyday sleeves, these are a sized product, and the staff were really helpful in offering me advice on what size to buy when I called them up. The Original sleeves are super stretchy and made from an incredibly soft, thin meryl microfibre and spandex blend that is cooling to touch. They also fit supremely well, like a second skin, with sufficient length to protect my wrists.
Compared to the Everyday sleeves, Originals felt lighter and cooler. The Everyday sleeves were stretchier and I liked the compression fit, although ultimately my Originals fit more snugly around the wrist because I was able to buy them in a tiny XS size. Everyday sleeves were more versatile, however, offering a little more protection from cold in variable weather.
The Everyday sleeves weigh 36g, and the Originals a mere 24g, perfect for bikepacking if you like to keep things ultralight. Both dry extremely quickly and are easy to wash out at the end of a day’s riding. Being just 24g, the Originals are also my pick for packability when pocket space is at a premium.
Designed, tested, and certified UPF 50+ in Australia and made in Korea, both the Everyday and Original SP arms come in a huge range of fun colours, as well as neutral shades like white and black. With their base on the Gold Coast, shipping is lightning fast and products come in a handy little ziplock pack that doubles as a riding wallet.
www.au.sparms.com
$29.95 AUD (Everyday) / $34.95 AUD (Original)